Mastering the Santa Claus Hat Confetti Shaker SVG for Professional Paper Crafting
The intersection of traditional papercraft and modern digital design has opened new avenues for creators seeking to produce interactive, three-dimensional holiday decorations. Among the most engaging projects in this space is the Santa Claus Hat Confetti Shaker, a dynamic 3D Christmas toy that combines aesthetic appeal with tactile interactivity. This project is not merely a static cutout; it is an engineered assembly designed to hold loose glitter or confetti within a sealed chamber, creating a mesmerizing visual effect when shaken. For designers, educators, and hobbyists, understanding the technical nuances of the Santa Claus Hat Confetti Shaker SVG is essential for achieving professional-grade results.
The Engineering Behind the 3D Layered Design
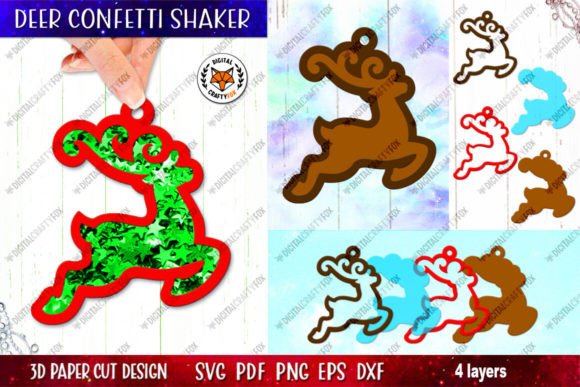
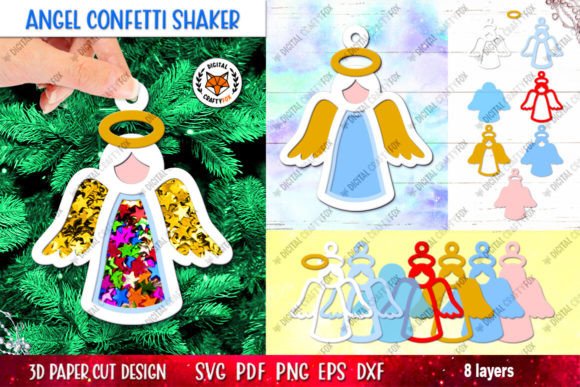
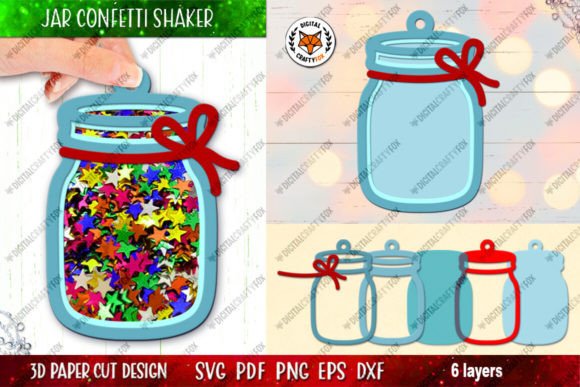
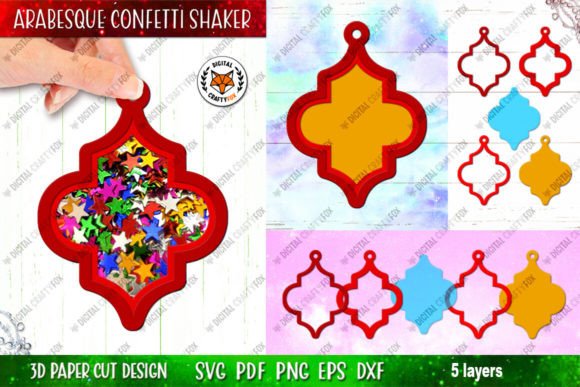
Creating a functional shaker requires more than just cutting shapes; it demands a precise understanding of spatial relationships and material properties. The core of this project lies in its 3D layered design. Unlike flat ornaments, a shaker must have depth to allow the internal elements—glitter, beads, or sequins—to move freely. This depth is achieved through a specific architectural approach where multiple layers are stacked to create a cavity.
The structural integrity of the shaker depends heavily on the materials chosen for the spacer layer. This is the critical component that holds the confetti and gives the toy its height. While standard cardstock may suffice for flat projects, it lacks the rigidity required for a durable shaker rim. Instead, creators are encouraged to use thick cardboard, felt, or foam. Foam, often referred to as foamin or craft foam, is particularly effective because it provides significant volume without adding excessive weight. Alternatively, double-sided tape can be used to build up layers, though this method requires meticulous application to ensure a uniform seal.
A unique feature of this specific design is the inclusion of special strips with teeth. These are not decorative but functional. The toothed strips are designed to create a high rim that securely holds the confetti inside while providing a textured surface for adhesive bonding. This ensures that the transparent cover remains sealed even under the stress of vigorous shaking. The precision of these cuts is why having access to high-quality vector files, such as the Santa Claus Hat Confetti Shaker SVG, is crucial. Vector formats ensure that every tooth and curve is rendered with mathematical precision, preventing gaps that could lead to leakage.
Material Selection for Transparency and Durability
The visual impact of a confetti shaker is determined by the clarity of its window. The front and back layers that encapsulate the glitter must be transparent to allow the user to see the internal motion. For this purpose, thin silicone material covers from notebooks or folders are highly recommended. These materials offer an ideal balance of flexibility and clarity. They are thin enough to be easily cut by most electronic cutting machines yet durable enough to withstand repeated handling.
When selecting transparent materials, it is important to consider the refractive index and surface texture. Glossy plastics provide the clearest view, while matte finishes can diffuse light, potentially obscuring the sparkle of the confetti. The Santa Claus Hat Confetti Shaker design accounts for these variables by providing a spacious central cavity. However, the choice of filler material also plays a role. Fine glitter moves like fluid, creating a snow-globe effect, while larger confetti pieces or metallic stars move more slowly, offering a different visual rhythm. Creators should experiment with different fillers to find the aesthetic that best suits their vision.
Workflow and Assembly Instructions
One of the most challenging aspects of multi-layered papercraft is keeping track of the assembly order. To mitigate confusion, the Santa Claus Hat Confetti Shaker SVG package includes layers that are numbered in the order of gluing. This systematic approach simplifies the construction process, ensuring that each component is added at the correct stage. The workflow typically begins with cutting all components from their respective materials. Once cut, the creator must carefully remove any weeding waste, paying special attention to the small teeth on the rim strips.
The assembly process involves building the rim first. The toothed strips are glued to the base layer, forming the walls of the shaker. It is vital to ensure that the adhesive is applied evenly to prevent leaks. Once the rim is secure, the confetti is added. This step requires patience; filling the shaker too much can restrict movement, while too little can look sparse. After filling, the transparent cover is placed over the rim and sealed. Finally, the decorative outer layers are added to conceal the mechanical edges and enhance the festive appearance of the Santa hat.
It is worth noting that while the design is optimized for a specific size, it is scalable. You can cut the toy even larger to create a statement piece for holiday decor. However, there is a lower limit to scaling. Do not make a very small size, as it will be inconvenient to fill up the glitter. Miniature shakers require extremely fine glitter and precise tools, which can be frustrating for beginners. Maintaining a moderate size ensures that the assembly process remains manageable and the final product is robust.
Versatility: Shaker vs. Static 3D Toy
While the primary function of this design is a confetti shaker, its versatility allows for alternative interpretations. You can choose not to make a shaker at all, but simply cut out a 3D toy. By omitting the transparent layers and the confetti, and instead stacking solid colored layers, creators can produce a dimensional ornament with a textured, relief-like appearance. This approach is ideal for those who prefer a cleaner look or who wish to avoid the mess associated with loose glitter. The underlying 3D structure remains visually appealing, showcasing the intricate details of the Santa hat design.
This dual-purpose nature makes the Santa Claus Hat Confetti Shaker an excellent resource for educators and workshop leaders. In a classroom setting, younger students might find the static 3D assembly more manageable, while older students or adult hobbyists can tackle the complexity of the shaker mechanism. This adaptability increases the value of the digital file, allowing it to serve a broader audience with varying skill levels.
Digital File Formats and Technical Specifications
For digital crafters, the format of the design file is as important as the design itself. The zip archive provided with this project includes a comprehensive suite of file types to ensure compatibility with various software and hardware. Understanding these formats can help users optimize their workflow.
- DXF Files: Ideal for users of Silhouette Studio Basic Edition and other CAD-based cutting software. The archive includes individual DXF files plus one full file containing all layers.
- SVG Files: The standard for web-based cutting software like Cricut Design Space and Brother Canvas. These scalable vector graphics ensure crisp cuts at any size. The package includes individual SVGs and a consolidated file.
- EPS10 Files: Suitable for professional graphic design software such as Adobe Illustrator and CorelDRAW. These files preserve vector data for editing and resizing without loss of quality.
- PDF File: Contains all layers in a printable format, useful for manual tracing or reference.
- PNG Files: High-resolution images (300 dpi) on a transparent background in RGB color mode. These are perfect for sublimation printing or digital mockups. The archive includes separate PNGs for each shaker layer, as well as files specifically designed for hand cutting.
The inclusion of files for hand cutting acknowledges that not all creators have access to electronic cutting machines. The clear, high-contrast lines in the PNG and PDF files allow for precise manual cutting with scissors or craft knives. This inclusivity broadens the accessibility of the Santa Claus Hat Confetti Shaker SVG, making it a viable project for a wide range of crafters.
Practical Considerations for Best Results
To achieve the best results with this project, attention to detail is paramount. When using foam or thick cardboard for the spacer layer, ensure that the cuts are clean and perpendicular. Angled cuts can create gaps that compromise the seal. Additionally, when applying adhesive, use a glue that dries clear and flexible. Rigid glues may crack under the pressure of shaking, leading to premature failure of the shaker.
Lighting also plays a crucial role in the presentation of the finished toy. The reflective properties of the glitter are enhanced by direct light sources. Consider displaying the Santa Claus Hat Confetti Shaker near a window or under a spotlight to maximize its visual impact. For photographers and content creators, capturing the motion of the confetti may require a faster shutter speed or a burst mode to freeze the action.
These files are for digital download only, meaning that immediate access is granted upon purchase. This allows creators to start their projects without waiting for shipping. If you have any questions regarding the file compatibility or assembly process, please contact the designer directly. Support is often available to troubleshoot specific issues related to software settings or material choices. If you liked the product, please rate my store. Feedback helps improve future designs and assists other customers in making informed decisions. Thank you for supporting independent digital artists and embracing the joy of handmade holiday decorations.